Are you looking to elevate your viewing experience to the next level? The key to achieving the best image quality lies in optimizing projector placement for best image quality. Whether you're a cinephile seeking cinematic perfection or a casual viewer aiming for enhanced entertainment, mastering the art of projector placement can make a significant difference in your audiovisual setup. Let's delve into the intricacies of positioning your projector to unlock unparalleled clarity, vibrancy, and immersion in every frame.
Factors Affecting Image Quality
When it comes to optimizing projector placement for best image quality, several factors play a crucial role in achieving an immersive viewing experience. Understanding these factors can help you make informed decisions when setting up your projector system.
Impact of Ambient Light
Natural Light: Position your projector away from windows or use blackout curtains to minimize the impact of natural light.
Artificial Light: Dim or turn off overhead lights to reduce glare and distraction during viewing.
Distance from Screen
Throw Distance: Follow the manufacturer's guidelines for the optimal distance between the projector and the screen for sharp image quality.
Screen Size: Adjust the distance based on the screen size to prevent distortion and maximize clarity.
Screen Material and Texture
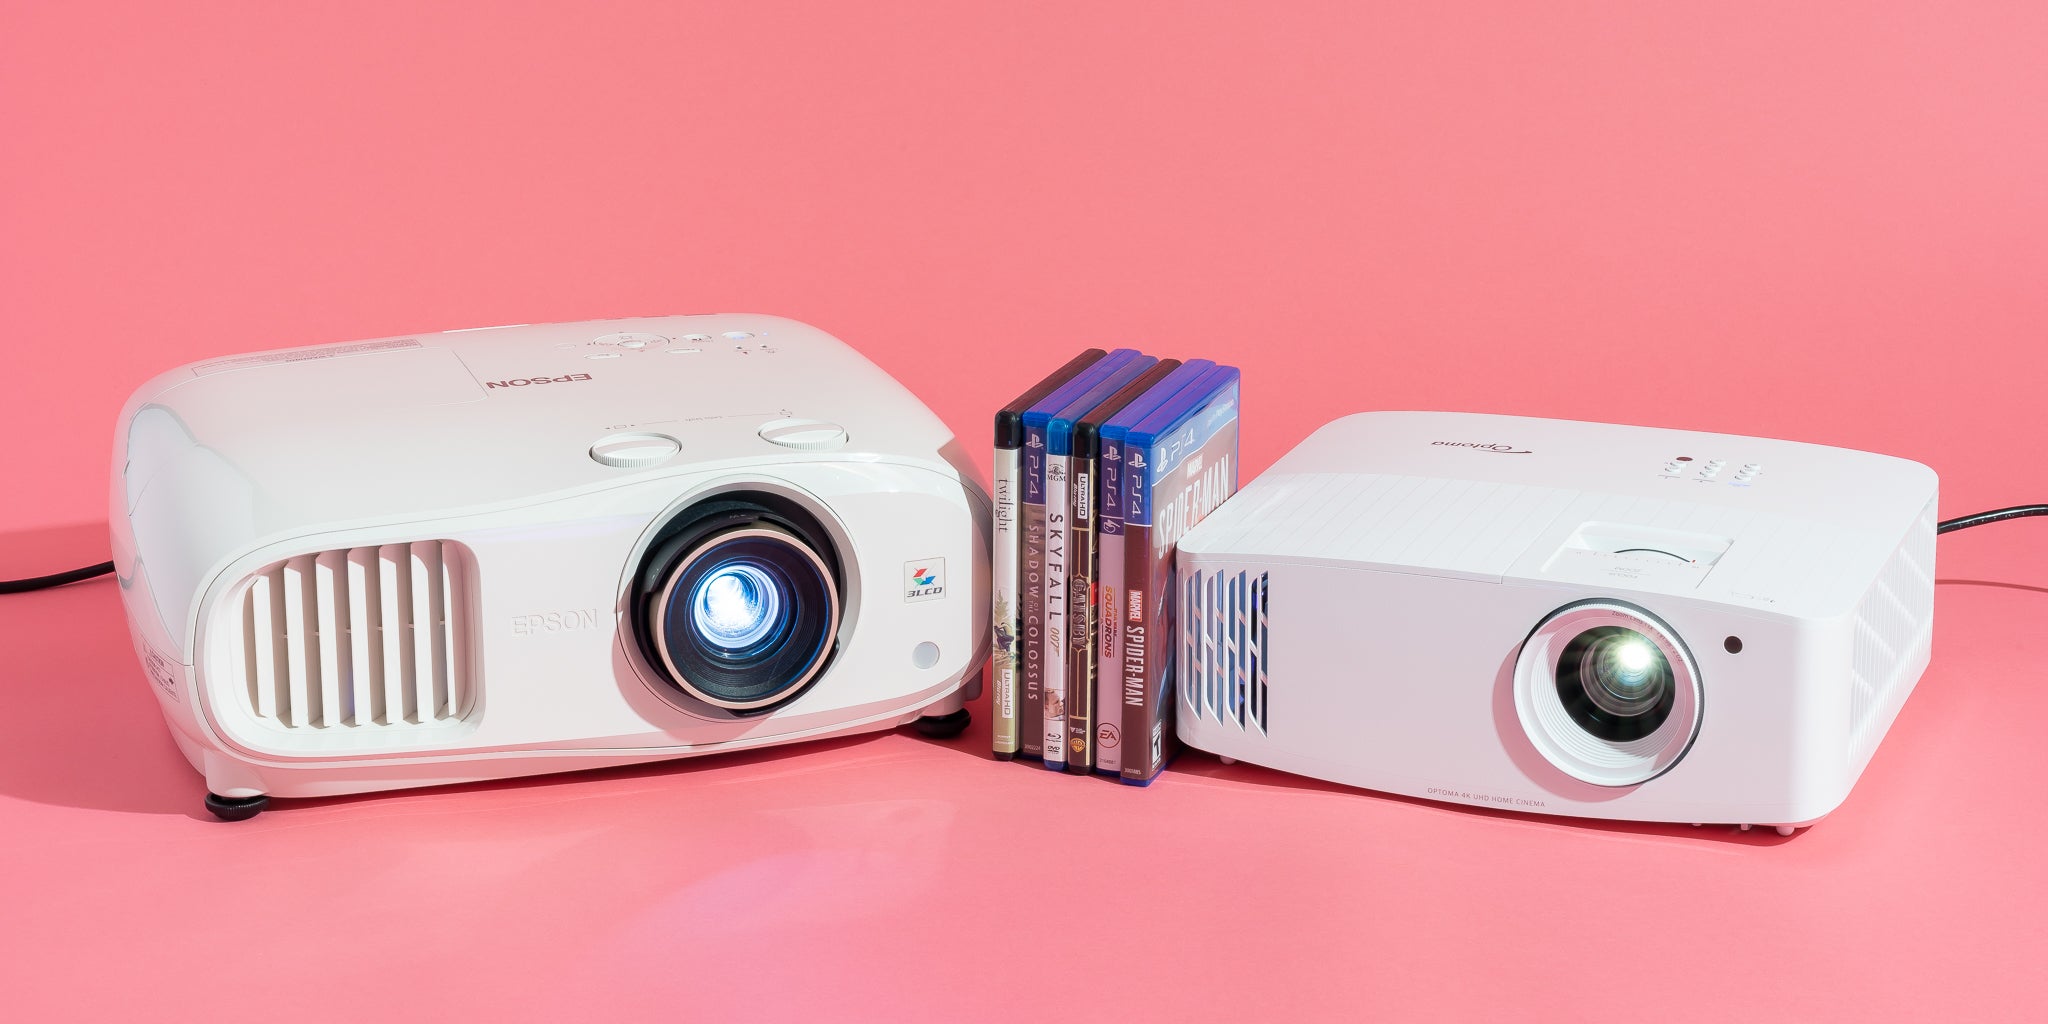
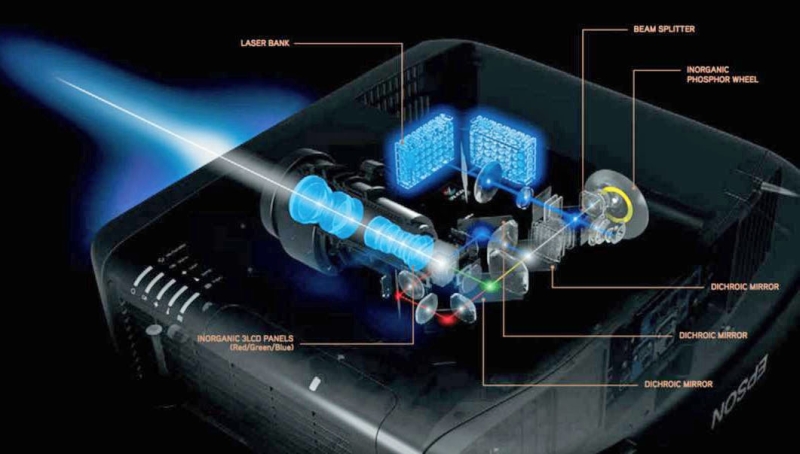
Projector Lens Quality
By considering these factors and making necessary adjustments, you can significantly enhance the image quality of your projector setup. For more in-depth information on projector technology, check out Sony's projector guide.
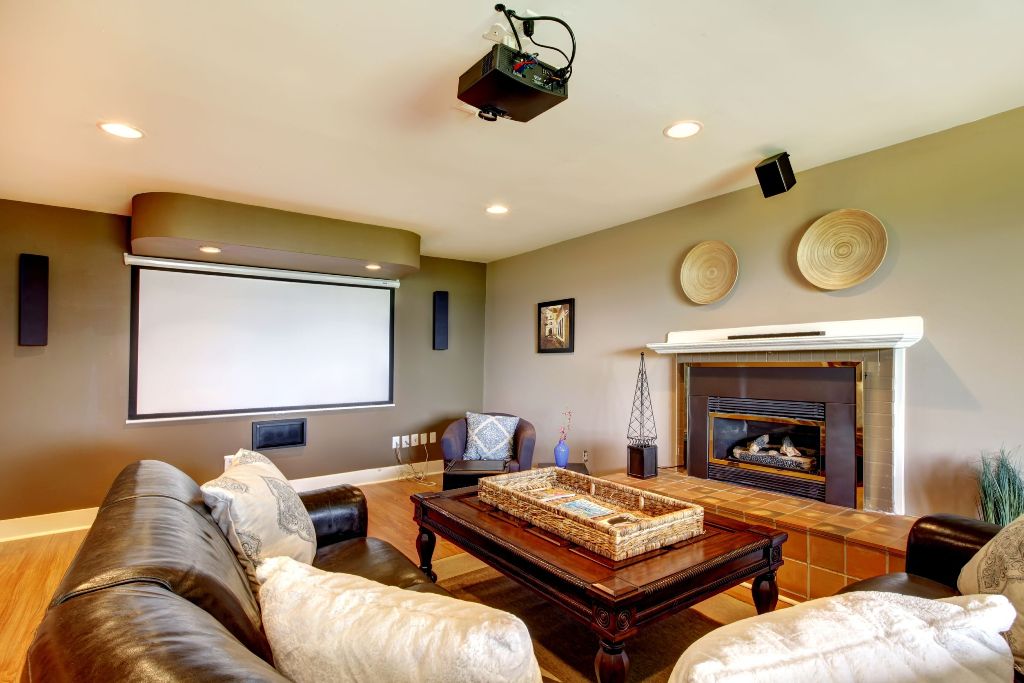
Ideal Projector Placement
Achieving optimal projector placement is key to maximizing image quality and creating an immersive viewing experience. Consider the following factors when determining where to position your projector.
Optimal Height and Angle
Projection Level: Position the projector at the appropriate height to ensure a straight and undistorted image projection onto the screen.
Angle Adjustment: Tilt the projector slightly downwards to prevent keystoning and ensure a rectangular image.
Centered vs. Off-Center Placement
Centered Alignment: Place the projector directly in front of the screen for symmetrical image display.
Off-Center Viewing: Adjust the projector positioning based on the seating arrangement to provide a centered view for all viewers.
Avoiding Obstructions
Clear Path: Ensure there are no objects blocking the projector's path to the screen to avoid shadows or image distortion.
Ventilation Space: Allow adequate space around the projector for proper ventilation and heat dissipation to maintain optimal performance.
Ceiling vs. Wall Mounting
Ceiling Installation: Mounting the projector on the ceiling can save space and provide a clean aesthetic look.
Wall Mounting: Consider wall mounts for flexibility in positioning and easier access for adjustments.
By carefully evaluating these placement considerations and making thoughtful adjustments, you can enhance image quality and enjoy a premium viewing experience. For more insights on projector installation, refer to Epson's projector placement tips.
Room Considerations
When optimizing projector placement for the best image quality, it's essential to take into account various room characteristics that can impact the overall viewing experience. Consider the following factors to ensure an ideal setup tailored to your specific room environment.
Room Size and Shape
Space Utilization: Evaluate the room dimensions to determine the optimal seating and projector placement for an immersive viewing experience.
Ceiling Height: Adjust projector positioning based on ceiling height to prevent obstruction and ensure proper image projection.
Acoustic Reflection
Wall Materials: Choose room finishes that absorb sound reflections and prevent audio distortions that can affect the viewing experience.
Acoustic Treatment: Consider acoustic panels or soundproofing to improve audio quality and overall room aesthetics.
Color Temperature and Walls
Wall Color: Opt for neutral wall colors to prevent color cast on the projected image and maintain color accuracy.
Light Reflection: Position the projector away from reflective surfaces to minimize light bounce and ensure a clear image.
Seating Arrangement
Viewing Angle: Place seating at an optimal distance from the screen to enjoy the full impact of the projected image without straining necks or eyes.
Comfort Consideration: Arrange seating in a way that allows for comfortable viewing angles and accommodates multiple viewers.
Taking these room considerations into account when setting up your projector system can make a significant difference in achieving the best image quality. For further guidance on room optimization for projectors, consult LG's room setup recommendations.
Calibration and Testing
Ensuring that your projector is correctly calibrated and tested is crucial for optimizing projector placement for the best image quality. Follow these steps to fine-tune your projector settings and achieve superior viewing results.
Keystone Correction
Digital Keystone: Use the projector's keystone adjustment feature to correct any trapezoidal distortion and ensure a perfectly rectangular image.
Manual Keystone: Make precise manual adjustments if needed to align the projected image with the screen edges.
Image Focus and Sharpness
Focus Adjustment: Use the projector's focus control to achieve a sharp and detailed image across the entire screen.
Zoom Functionality: Fine-tune the zoom settings to optimize image sharpness and clarity based on the screen size and distance.
Color Accuracy and Contrast
Color Settings: Adjust color temperature and saturation settings to achieve accurate color reproduction and vibrant visuals.
Contrast Ratio: Calibrate the projector's contrast ratio for deep blacks and bright whites to enhance image depth and clarity.
Testing Different Setups
Multiple Configurations: Experiment with different projector placements and settings to find the setup that offers the best image quality.
Viewing Conditions: Test the image quality in various lighting conditions to ensure optimal performance in different environments.
By calibrating and testing your projector thoroughly, you can fine-tune its settings to achieve the best possible image quality. For comprehensive guidance on projector calibration, refer to BenQ's projector calibration tips for expert insights.
Troubleshooting Common Issues
Even with careful planning and setup, issues can arise that affect the image quality of your projector. Understanding common problems and how to troubleshoot them can help you maintain the best viewing experience possible.
Image Distortion or Blurring
Check Connection Cables: Ensure all cables are securely connected to the projector and source device to prevent signal interference.
Adjust Focus and Keystone: Fine-tune the focus and keystone settings to correct any distortion or blurriness in the projected image.
Uneven Brightness
Lamp Replacement: If the projector lamp is dim or flickering, consider replacing it with a new one to restore uniform brightness.
Clean Filters and Lens: Dust and dirt buildup on the projector's filters and lens can cause brightness inconsistencies—clean them regularly for optimal performance.
Color Irregularities
Color Settings Check: Verify color temperature, saturation, and hue settings to ensure accurate color reproduction.
Color Correction Filters: Use color correction filters if needed to adjust color balance and eliminate any irregularities in color tones.
Connectivity Problems
Verify Input Source: Confirm that the input source is selected correctly on the projector to display the intended content.
Check Signal Quality: Ensure the signal quality from the source device is stable and matches the projector's specifications for optimal image quality.
By addressing these common issues proactively and troubleshooting effectively, you can maintain the best image quality from your projector setup. For additional troubleshooting tips, consult Samsung's projector support page for expert solutions.
Advantages of Professional Installation
While optimizing projector placement for the best image quality can be done independently, utilizing professional installation services offers a range of benefits that can elevate your viewing experience to the next level. Consider the advantages of opting for expert installation tailored to your specific setup needs.
Expert Recommendations
Professional installers can provide personalized recommendations based on your room size, layout, and viewing preferences to optimize image quality.
Their expertise in projector technology and placement can help you achieve the best possible setup for immersive viewing.
Customized Solutions
Professional installers can tailor the placement and calibration of your projector to ensure optimal performance and image quality.
They can recommend additional accessories or enhancements, such as sound systems or ambient lighting, to complement your projector setup.
Post-Installation Support
Many professional installation services offer post-installation support, including follow-up visits to fine-tune settings or address any issues that may arise.
You can benefit from ongoing guidance and assistance to maintain the quality of your projector system over time.
Fine-Tuning for Optimal Performance
Professional installers have the expertise to fine-tune projector settings, such as color calibration and brightness adjustments, for the best possible image quality.
Their attention to detail and technical knowledge can maximize the performance of your projector system for a premium viewing experience.
By leveraging the advantages of professional installation, you can ensure that your projector placement is optimized for the best image quality and enjoy a superior audiovisual experience. For top-tier installation services, consider reaching out to Sony's professional installation team for expert guidance and support.
Can I place my projector directly in front of a window?
While it's not ideal to place your projector directly in front of a window due to potential light interference, you can minimize the impact by using blackout curtains or adjusting the timing of your viewing sessions to coincide with minimal natural light.
How important is the distance between the projector and the screen?
The distance between the projector and the screen is crucial for image clarity and focus. Follow the manufacturer's recommendations for optimal throw distance to ensure sharp and well-defined visuals.
What should I consider when choosing the screen material for my projector setup?
When selecting a screen material, prioritize factors such as reflectivity, texture, and size compatibility to enhance brightness, minimize hot spotting, and achieve uniform image quality across the screen.
Is ceiling mounting better than wall mounting for projectors?
Ceiling mounting can save space and provide a clean aesthetic look, while wall mounting offers flexibility in positioning and adjustment accessibility. Choose the mounting option that best suits your room layout and viewing preferences.
How can I troubleshoot color irregularities in my projected image?
To address color irregularities in your projected image, check and adjust color settings, use color correction filters if necessary, and ensure proper calibration for accurate color reproduction and balance.